A browned edge can hide a thick centre that never got enough time
Hard-centred squash usually needs a better cut, more space or a covered stage. Brown the surface after the thickest part is tender.

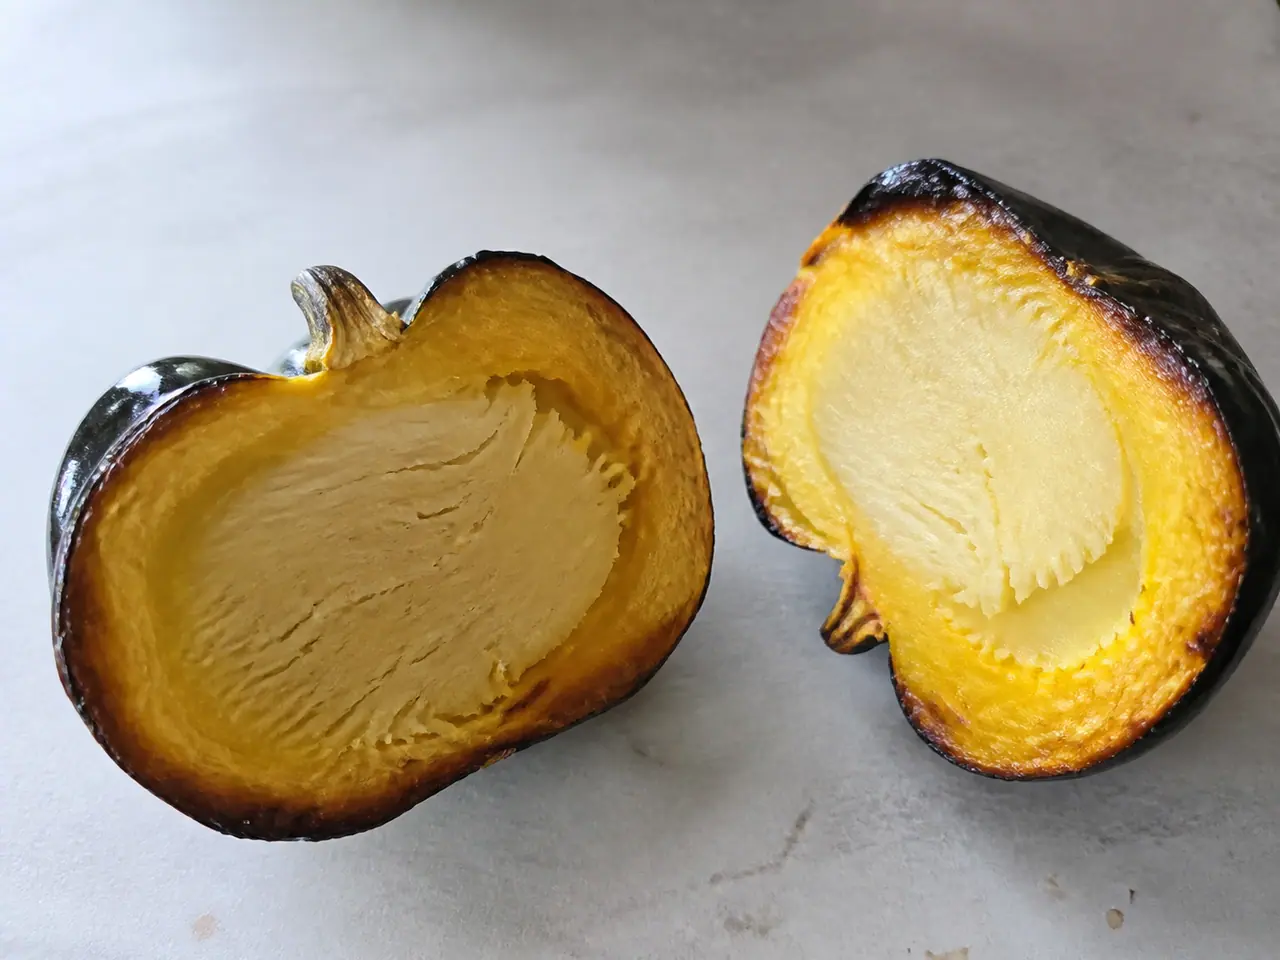
Squash can look finished before it is tender. The corners darken, the cut face dries and the thick middle still pushes back at the knife. That usually means the heat reached the surface faster than it reached the centre.
I solve it by treating thickness as the timer. Cut the pieces to a similar depth, give them space and use a covered or lower-heat stage when the edges are racing. The surface gets its colour after the middle has earned it.
Thickness is the hidden timer
A 2 cm cube and a 5 cm wedge do not need the same roasting time. The outside of the wedge can brown while heat is still travelling through the thickest part.
I measure the thickest point with my eye and cut large pieces through the middle. If I want a dramatic wedge, I accept that it needs more time or a covered stage.
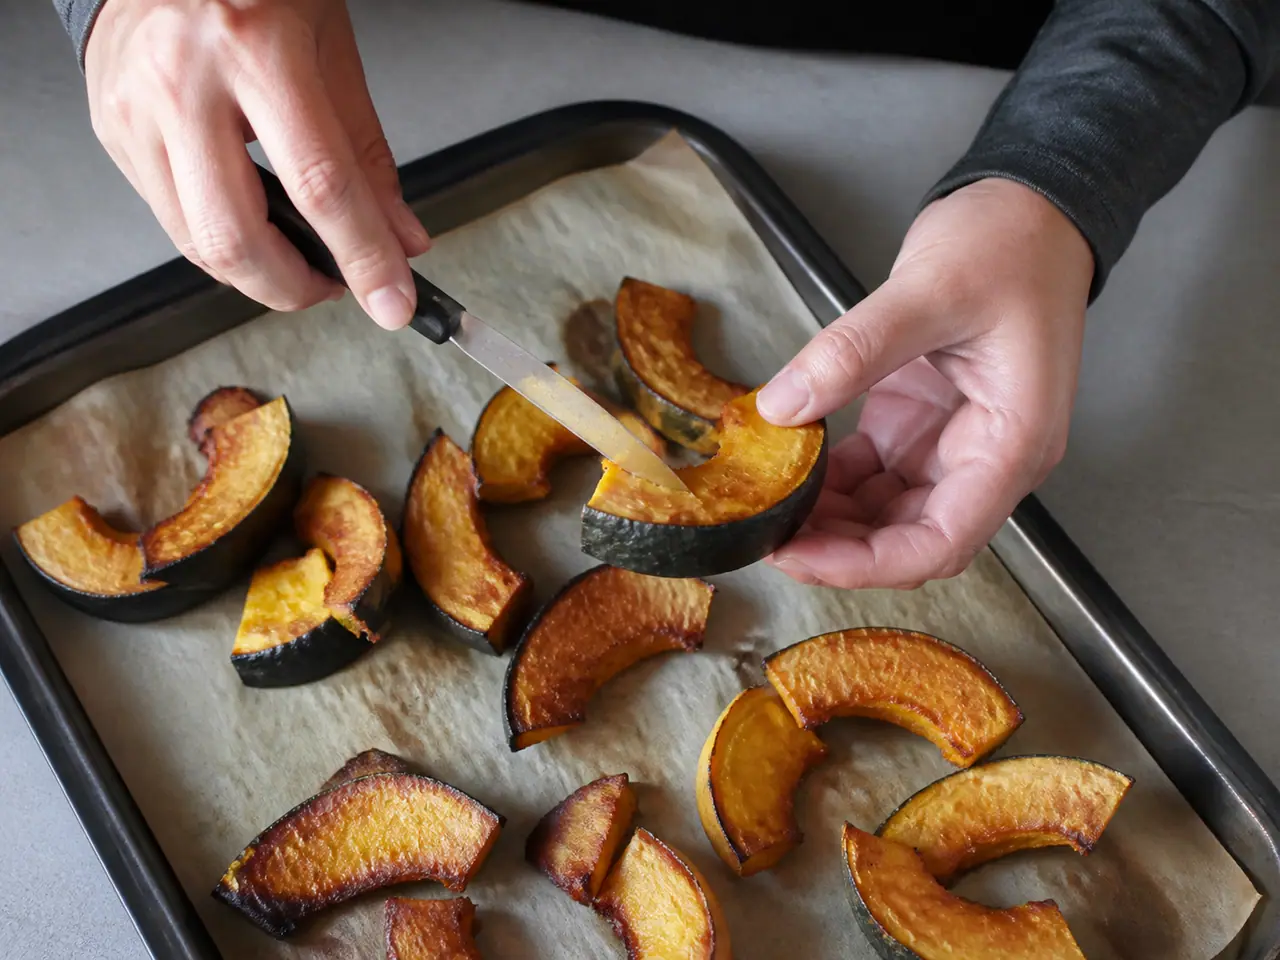
Crowding traps steam badly
A crowded tray produces steam but not the useful kind. The pieces soften at the edges while the tray cools, then the outside dries before the centre catches up.
Leave clear gaps between pieces. If the squash fills the tray, move some to another tray rather than turning the oven hotter.
I keep one piece aside so I can compare it with the next batch.
Start gently, finish hot
A moderate oven gives the centre time to soften. Once a knife meets the thickest piece with little resistance, raise the heat for a short finish if the edges need colour.
This two-stage approach is more reliable than a fierce oven from the beginning. Sugar and skin can darken early, especially on sweet squash.
The clock helps, but the surface gives the better signal.
Use a covered rescue
If the edges are already brown and the centre is hard, cover the tray loosely with foil and add a tablespoon of water at the edge. The steam softens the middle without adding a sauce to every surface.
Remove the foil once tender and let the water evaporate. The final uncovered minutes restore some dry texture.
That small pause saves more food than a rescue at the end.
Check the thickest piece
Do not test the smallest cube and assume the tray is ready. I choose the piece with the deepest centre, push a knife through it and taste a corner before seasoning the whole dish.
Tender means the knife enters with gentle resistance and the flesh does not feel fibrous. It does not have to collapse into puree unless that is the goal.
The next step works better when the excess moisture has somewhere to go.
Change the cut when the squash changes
A dry, dense squash can hold a thick wedge. A watery pumpkin needs thinner pieces and more space. An old root with a stringy centre is better cubed for soup than asked to become a neat roast.
The oven is not the only variable. Let the cut and the recipe respect the squash you actually opened.
I keep one piece aside so I can compare it with the next batch.
The common rescue is to add more heat, but that usually makes the outside race ahead of the centre. I lower the burner, spread the squash out and give the moisture a route to leave. If the pan is already wet, I wait for evaporation before adding oil, sauce or another handful. A calm correction preserves more texture than a dramatic one.
A different vessel can solve the same problem. A wide tray gives space around pieces, a covered pot gives gentle steam and a shallow skillet gives the cut face contact with metal. I choose the vessel by the failure I am trying to avoid. The squash does not need one magic temperature; it needs a useful balance between contact, moisture and time.
I also taste before deciding that the ingredient is the problem. Lemon, yogurt, mustard or a little salt can make a strong vegetable or fruit feel balanced, but seasoning cannot repair a raw centre, a bruised piece or a burnt edge. First fix the physical condition, then adjust flavour. That order keeps the rescue simple and keeps the original ingredient recognisable.
The useful lesson is to watch the ingredient while it cooks. A surface that browns quickly, a centre that resists the knife or liquid that gathers at the bottom all tell you what to change next. Adjust one thing at a time so the result stays readable. Spread the pieces, change the vessel, lower the heat or give the food a few quiet minutes before judging it. Once the physical problem is solved, seasoning becomes easier and the finished dish needs less rescuing. That is the habit I trust most: observe, make one correction and taste again.
For the quality and storage details behind my kitchen observations, I use the UC Davis pumpkin and winter squash fact sheet alongside the timed test described above.
The practical verdict
Squash stays hard in the middle when thickness, crowding and surface heat are out of balance. Cut evenly, cook with space and brown after tenderness.
A covered rescue can save a tray, but the best fix is choosing the cut before the oven gets involved.
Questions
Why is my roasted squash hard inside?
How do I make squash tender?
Can I cover squash while roasting?
How do I know squash is cooked?
More guides
All guides →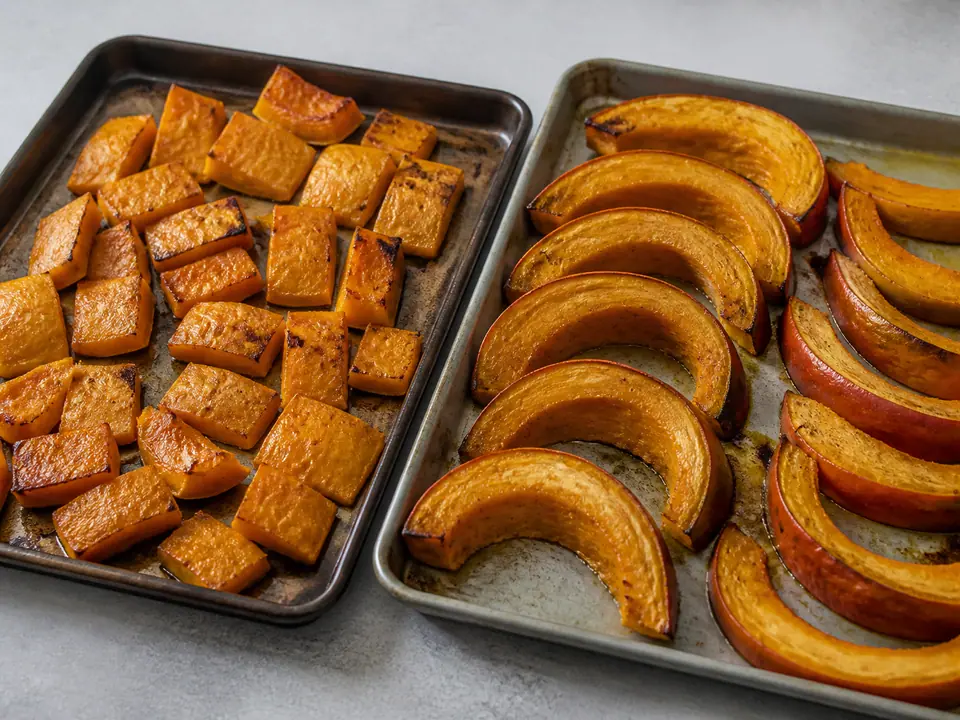
Butternut squash vs pumpkin: which roasts better?
Butternut squash usually roasts more evenly because its flesh is dense and its seed cavity is small. Pumpkin can roast beautifully, but its shape and moisture vary more.
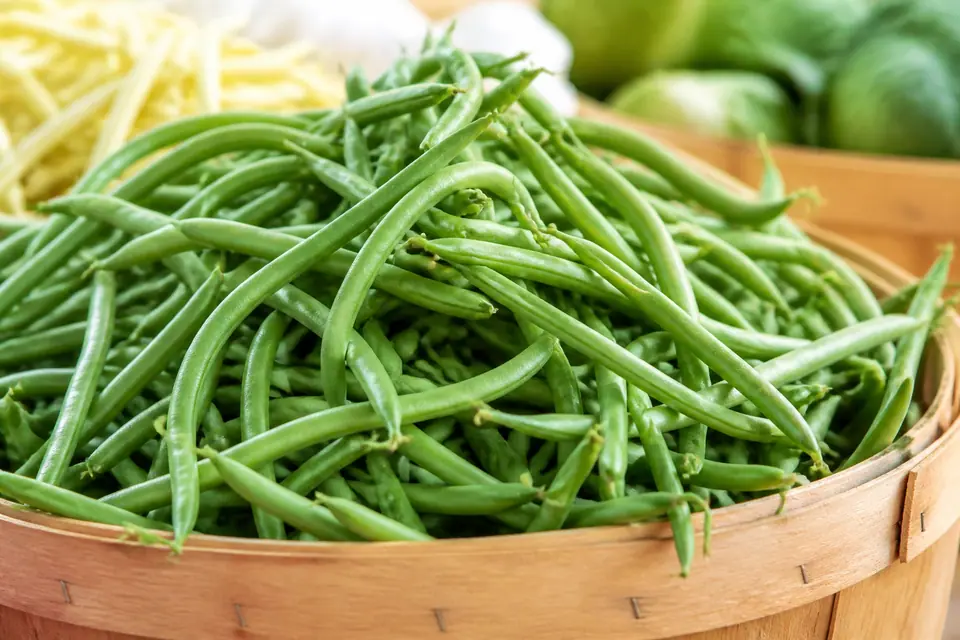
How to choose green beans that still snap
Fresh green beans are smooth, bright and firm, with a clean snap and no swollen seed bumps. A flexible limp pod is usually a thirsty older pod, not a tender one.
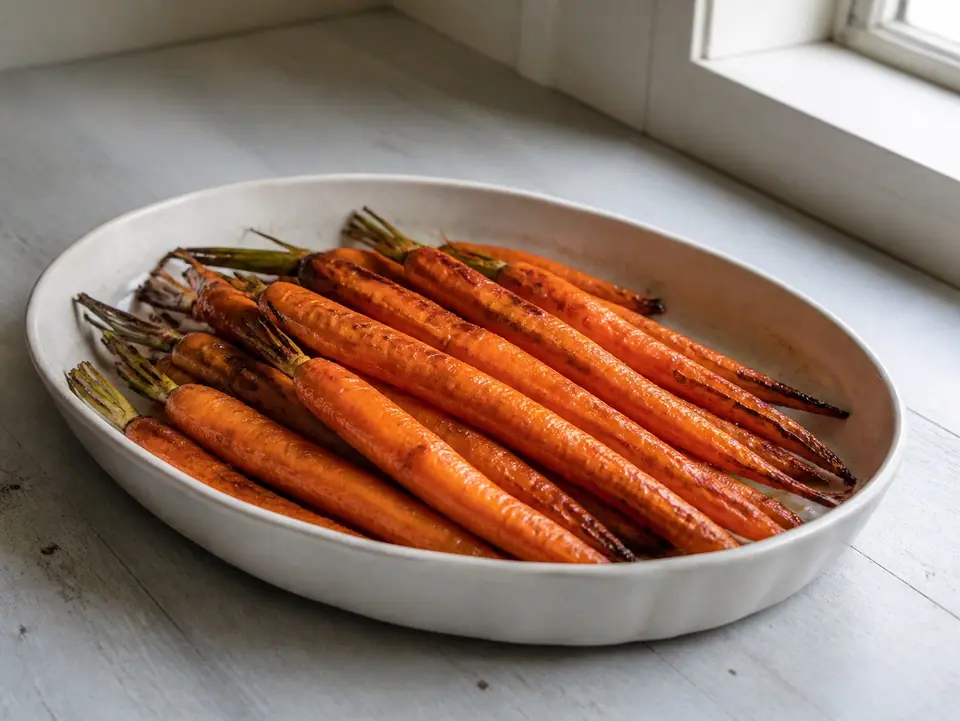
Why carrots taste sweeter after roasting
Roasting drives off water and browns the carrot surface, so its natural sweetness becomes more noticeable. The cut and tray space decide how far it goes.